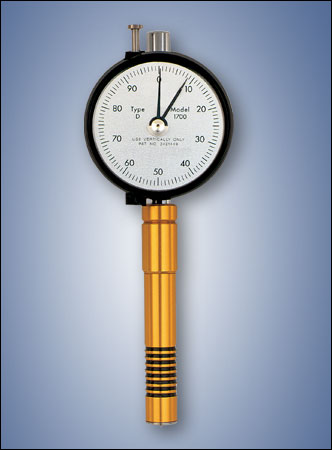
RX-1700 Precision Durometer With Memory
The RX-1700 Precision Durometer With Memory is no longer available and has been replaced by RX-2000 .
Click here to see the RX-2000 .
![]() Available Scales: A, B, C, D, DO, O (Asker, ISO, DIN & JIS Scales also available, inquire)
Available Scales: A, B, C, D, DO, O (Asker, ISO, DIN & JIS Scales also available, inquire)
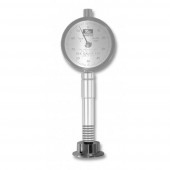
Introduced in 1965, the Model 1700 was designed to enable the user to observe and measure the "creep" present in a specimen. Creep refers to the tendency of the durometer indentor to continue to penetrate a specimen over time, giving lower durometer readings.
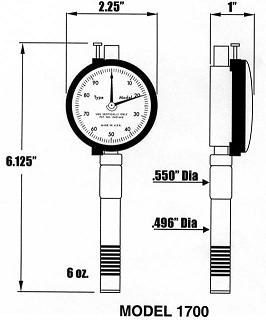
For example, if the durometer is held against a specimen in full contact and with constant pressure, the durometer reading will decrease over a period of seconds after the initial reading is taken. So, in a specimen with creep, the initial reading may be 35.0 durometer points, while the reading after three seconds may be 33.5 durometer points. The Model 1700 features a max- hand and an active hand so that creep may be observed. The max hand holds the maximum reading while the active hand can be observed creeping down the scale. The 1700 is equipped with a max-hand reset button on the top left of the gauge.
Features
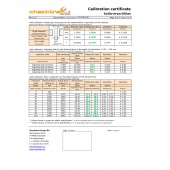
- Includes NIST Calibration Certificate
- Reads maximum and creep
- Unique foolproof reset
- Conforms to ASTM D-2240
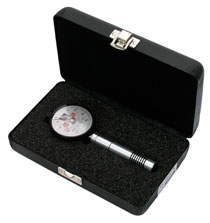
- Custom made carrying case
- Holds reading until reset
- Optional Removable Stainless Steel Barrel for Medical and Food Applications
Related Products
RX-DD Digital Durometer
- Includes NIST-Traceable Calibration Certificate
- One year warranty
- Optional Removable Stainless Steel Barrel for Medical and Food Applications
More details
RX-TBK-A Type A Durometer Test Block Kit
- Enables the user to perform a quick check for proper durometer operation
More details
RX-CLW Constant Load Weight for Types A, B, O, OO & OOO
- The Constant Load Weight for gauges with an 822g springload (types A, B, O) slides onto the lower barrel of the gauge, gives it a wider foot, and raises the mass of the gauge to the suggested 1kg
More details
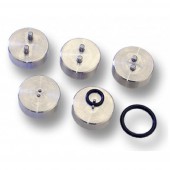
RX-ORF O-Ring Fixturing Set
- Measures O-Rings 1/16" to 1/4"
- 5 standard English sized fixtures and set plug included
- Stainless steel construction
More details
RX-BF 'Big Foot' Durometer Foot Adapter
- The Big Foot increases the diameter of the foot from 1/2" to 1 3/8" diameter
More details
Cic-Duro Durometer Calibration
- Exclusively NIST-certified testing equipment
- Possibility to adjust and repair
More details
Accessories
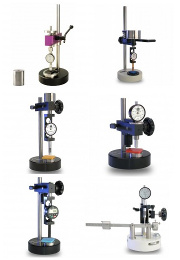
Category Durometer Stands
Durometer stands are used in combination with any of Checkline's durometers to help minimize the influence of the operator and to improve accuracy.
More details
We offer custom slim probe versions of most durometer models and types. The slim probe attachment can be modified to fit your specific needs or applications.
Dimensions
Complete Kit
Specifications
| Accuracy | ±1 durometer unit (A,B,C,D,E,O,DO) ±2 durometer units (OO,OOO) ±4 durometer units (M) |
| Dimensions | 2.25" x 6.125"H |
| Weight | 6 oz. |
| * Note | per ASTM D 2240-05, Sect 9.3: It is accepted that durometer readings below 20 or above 90 are not considered reliable. It is suggested that readings in these ranges be omitted. |

